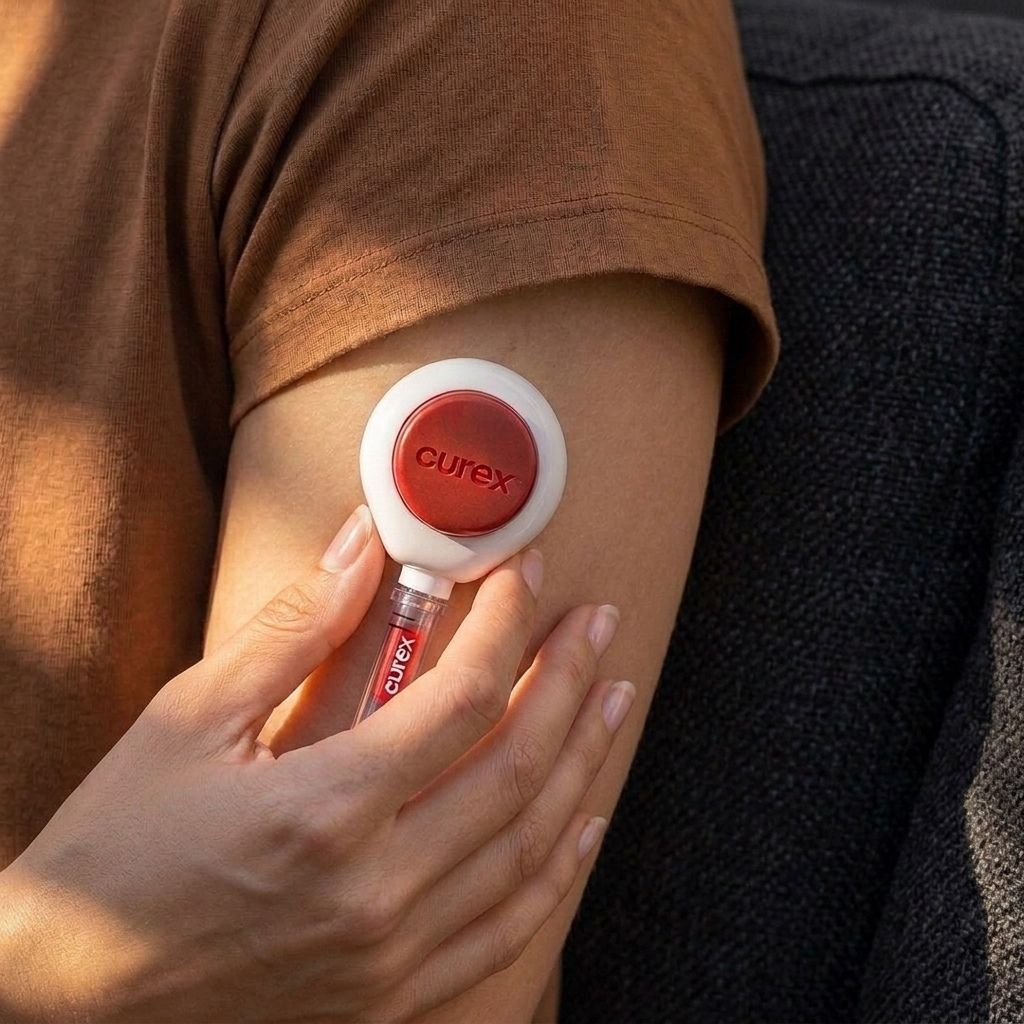
At-Home Food Allergy & Sensitivity Test
You’re almost ready to get your personalized treatment! The quicker you can get your test, the sooner our clinicians can reach out to you. Here are some instructions to help you with the process.
Scroll down to learn more!
286 allergy & sensitivity triggers

Food Allergies
Weed Pollens

Cat Allergies
Dog Allergies
Dust Mites
Molds
Tree Pollens
Please pay attention to the following information before using the kit.

Follow the instructions in the package.
You don't need to register the kit.

Hydration matters: Drink a little more water than usual the day before testing, and have 2 glasses of water about 30 minutes before the test.

Please don't drink coffee on the day you plan to use the kit, and please avoid alcohol the day before.
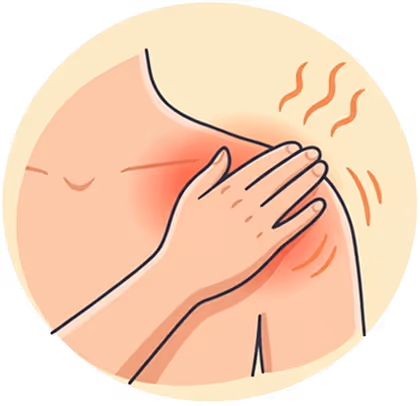
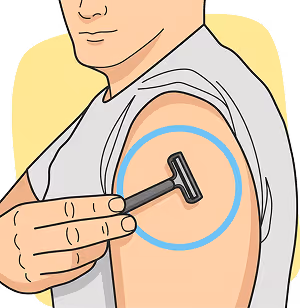
Rub your hand on the shoulder for 2 minutes to warm & increase blood flow.

Sample MUST be collected Monday through Thursday before noon & shipped the same day.

Based on the return label, please drop-off at your nearby FedEx/UPS ship center, not in dropbox locations.

Ensure the kit is dropped-off before the local cut-off time to guarantee next-day air delivery to the lab.

Overnight fasting is required.
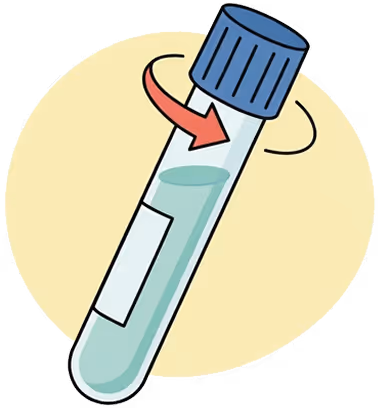
Please make sure the tube's cap is securely closed before sending it.
Testing Instructions
1
Preparations
Your kit contents
Alcohol Pads
Band Aids
Blood Collection Tube
Biohazard Specimen Bag

Heating Pad

Instructions For Use (IFU)

Collection ID Card
Return Shipping Bag

Collection Device
Place all the contents of your directdx kit on a clean surface
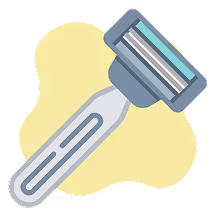
Razor

Mirror

5-minute Timer
You may require a razor, mirror and a timer (5-minute)
Sample MUST be collected Monday through Thursday before noon & shipped thesame day. Drop-off at your local FedEx location.
Ensure the DirectDx Kit is dropped-off before the local cut-off time to guarantee next-day air delivery to the lab. DO NOT DROP-OFF at FEDEX DROPBOXES.
Ensure the DirectDx Kit is dropped-off before the local cut-off time to guarantee next-day air delivery to the lab. DO NOT DROP-OFF at FEDEX DROPBOXES.

Enter the Collection Date/Time on the Card
2
Shave the collection area for optimal results, as needed.
3

Drink at least two glasses of water 30 minutes prior to sample collection.
4
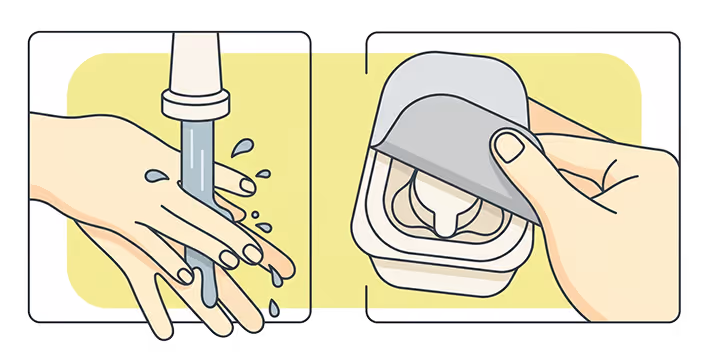
Wash your hands thoroughly before proceeding. Carefully unbox your DirectDx Kit and place the contents on a clean surface.
5
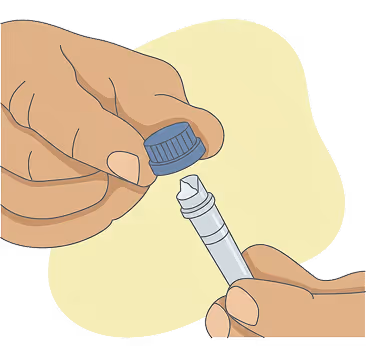
Remove the cap from tube. Keep the tube cap on secure place.
6
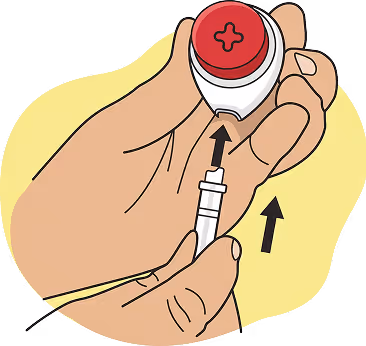
Press the tube into the device until snug, with fill lines facing outward.
7
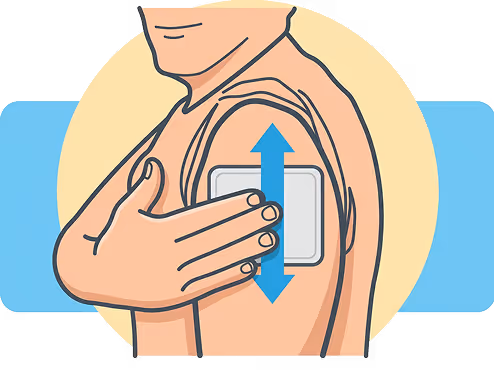
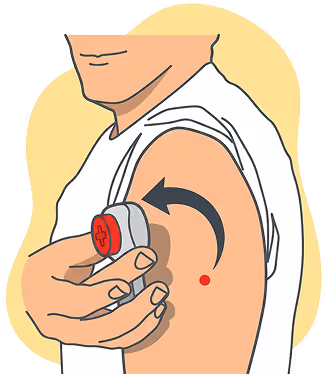
Rub a heat pack or your hand on the shoulder for 2 minutes to warm & increase blood flow.
8
Clean the collection area with an alcohol pad and let it dry.
9
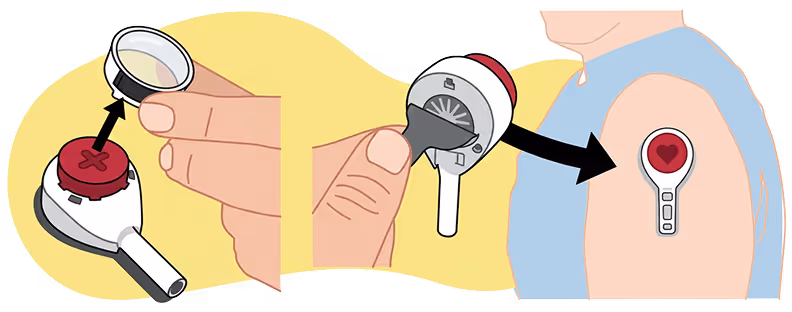
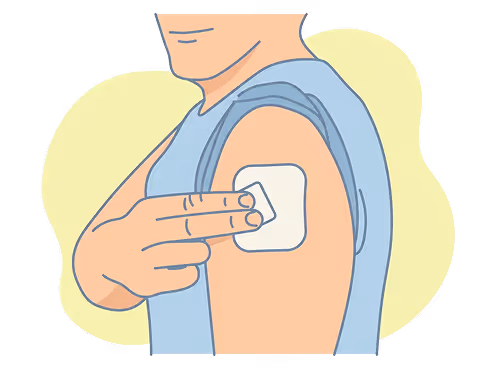
Remove the clear cover from the red button. Peel the tab and stick the device firmly onto your upper arm. Allow your arm to hang down by your side.
10
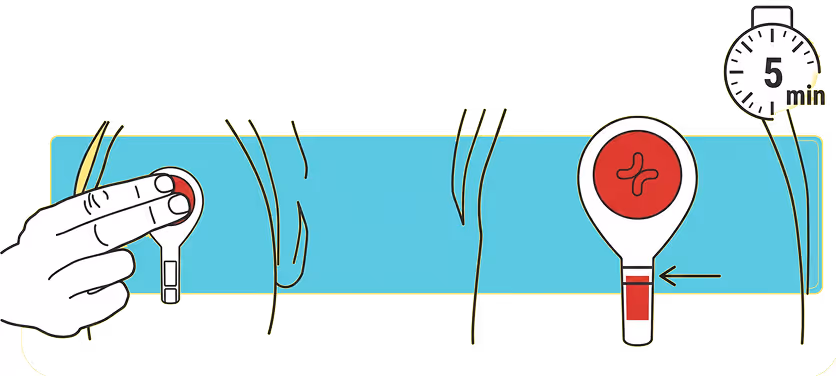
Press the button on the device all the way down ONCE & release. Set a timer for 5 minutes. Blood may not appear for the first 1-2 minutes. Watch tube fill using mirror as needed. If blood reaches the top line before 5 minutes or after 5 minutes, proceed to the next step.
11
Carefully peel off the device from your arm. If needed, stop any bleeding with a bandage.
12

Twist off the tube from the device. Snap the cap fully onto the tube. Invert the tube gently ten times.
13
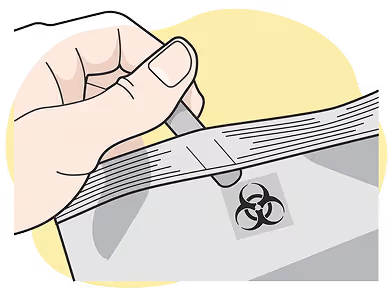
Place the collected sample in the biohazard bag. Ensure no other contents are inside.
14
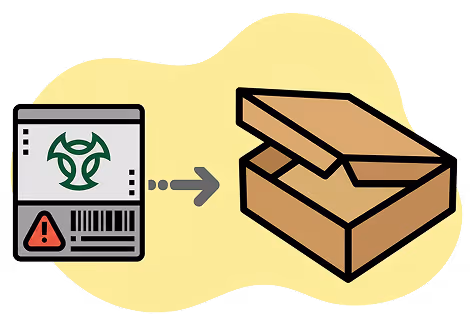
Ensure the sample bag is safely secured inside the box, along with the DirectDx Collection ID Card.
15

Insert the sealed box into the pre-labeled FedEx Polybag and secure the bag. Ship the FedEx box the same day.
16
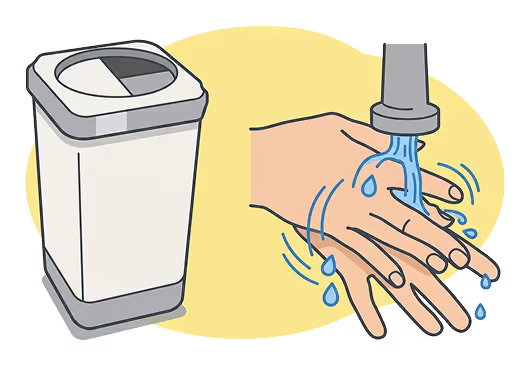
Discard used materials safely. Do not reuse any of the contents. Wash your hands after the procedure.
17


